Updo How-To's!
Hey friends!
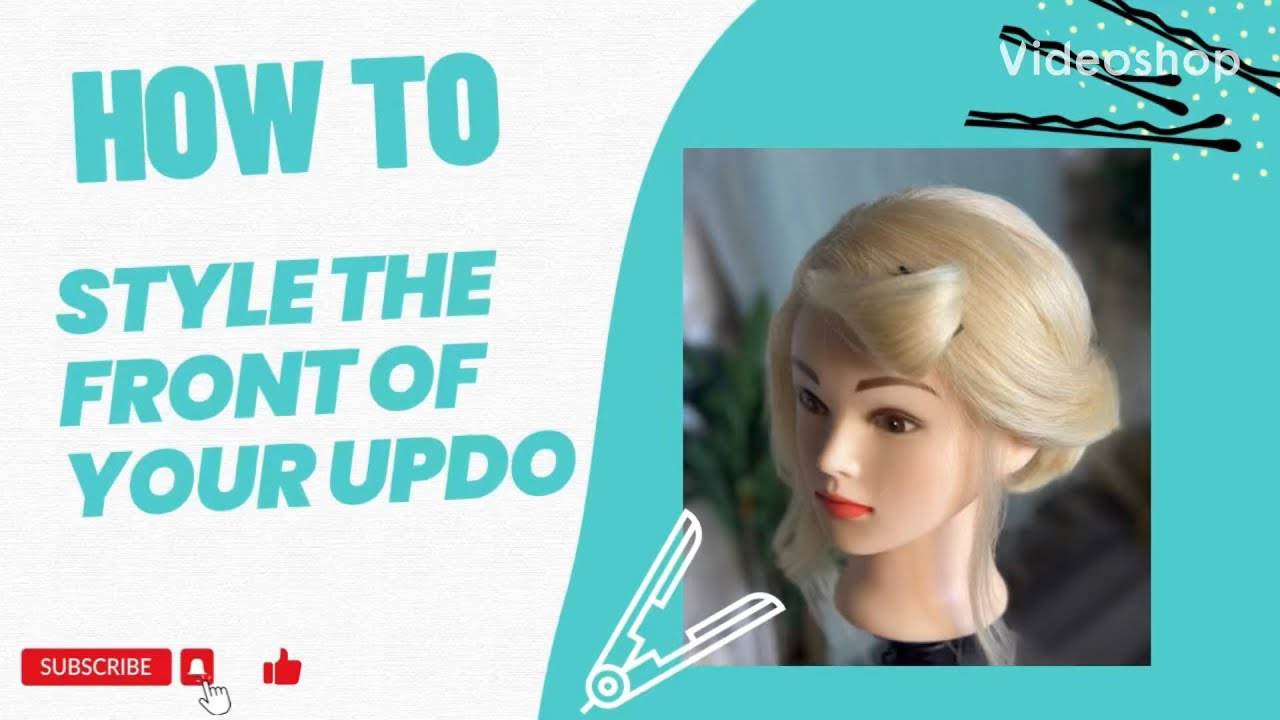
Today I am sharing some tips and tricks on how to do two specific updos. I love to teach about everything updo and bridal hair related-so hopefully this will give you some practical skills on where to start! If you want some visual tutorials-head to the youtube and learn, learn, learn there!
If you have any questions at all, leave a comment below!
Heidi :)
Long Hair, Soft and Loose Updo

LONG HAIR. That's what I was dealing with here. Her hair was super long, really healthy, and only had some layering in the front. I started by pinning away all of the hair from the top of her crown down to her ears forward, and pinning that away. Then I divided the remaining hair in the back into two parts-from a little above the ears and up I sectioned that away, and then I gathered the bottom into a pony tail. I did a two strand twist on the pony tail and wrapped it into a loose bun, pinning as I went. That got rid of more than half of her hair and gave me a foundation to pin out of. The section directly above the ponytail (in the back from the ears to the top of her head) I then took down and curled and sprayed with texture spray. As I curled, I would take sections and pull the curl loosely and pin into the base. This saved me SO much time because I was only having to curl the top portion of her hair, and since it was so long it could wrap around the bun base I created and make it look really loose and romantic, even though I had the hair really secure underneath. I made sure to keep some of the ends out so it was really soft. After finishing the back, I then curl the front with a 1 1/2 inch barrel and simply pulled it loosely back in two big sections towards the updo, and secured into the bun. This hairstyle could have taken me over an hour if I would have used all of her hair, but since I just essentially use the top and the sides, I was able to complete it in about 30 minutes.


Her hair was short and fine, with a lot of breakage in the front. The trick here is to prep the whole head really well, so when you go to actually start creating your updo every strand of hair has product in it and will be able to stay put in your updo. If you don't do a good job with prep on short haired clients, it will be a struggle to get it all up into an updo that will stay. For her hair, I prepped with flexible hold hairspray and brushed through it. Then I used texture spray at her roots all over her head. I then used a flat iron to wave/curl all of her hair, applying texture spray to each section after I finished it. I also backcombed at the root as I went through with the flat iron. This whole process didn't take super long because her hair was only a bit past her shoulders and fine. Once her hair was all prepped, I decided on a a textured french twist because I knew that would accommodate all the little hairs that would have slipped out of other styles. I gathered all the hair in the back and pulled it to one side. I then took pins and starting at the center nape of her neck, made a line of pins going up vertically to the middle of her head, effectively keeping the hair swept to the side. Lastly, I took all of the swept hair and brought it back across the line of pins, rolling it towards her head and pinning in place. You can then pull it looser and use pins to bring it in tighter if need be. All of the texture you created during the prep will keep the hair together. I let the front pieces fall naturally around her face, and pinned back a few into the twist if they could reach that far, re-curling as necessary.